Bright, Chewy, and Irresistibly Fun
I first stumbled upon the idea of Cookie Monster Cookies during a late-night baking session, fueled by nostalgia and a craving for something playful. The moment I pulled these vibrant blue cookies from the oven, the delightful aroma of melting chocolate chips filled my kitchen, making it impossible to resist tasting one right away. They’re wonderfully chewy with just the right amount of chocolatey goodness, and trust me, they’re as easy to make as they are delicious!
What makes these Cookie Monster Cookies truly special is their whimsical appearance that brings out smiles from everyone who sees them. Imagine the joy on your friends’ faces when they catch a glimpse of those bright blue treats topped with swirls of frosting; they’re perfect for cozy gatherings or as a fun surprise for kids after school. Each bite is not only a treat but also an experience that transforms any ordinary day into an extraordinary one.
To elevate your Cookie Monster Cookies even more, consider serving them warm with a scoop of vanilla ice cream or drizzling some extra blue frosting on top for that extra flair. Pair them with a tall glass of milk or a cup of hot cocoa for a delightful indulgence that’s sure to create lasting memories. So roll up your sleeves and get ready to bake — these cookies are about to become your new favorite sweet escape!
What are Cookie Monster Cookies?
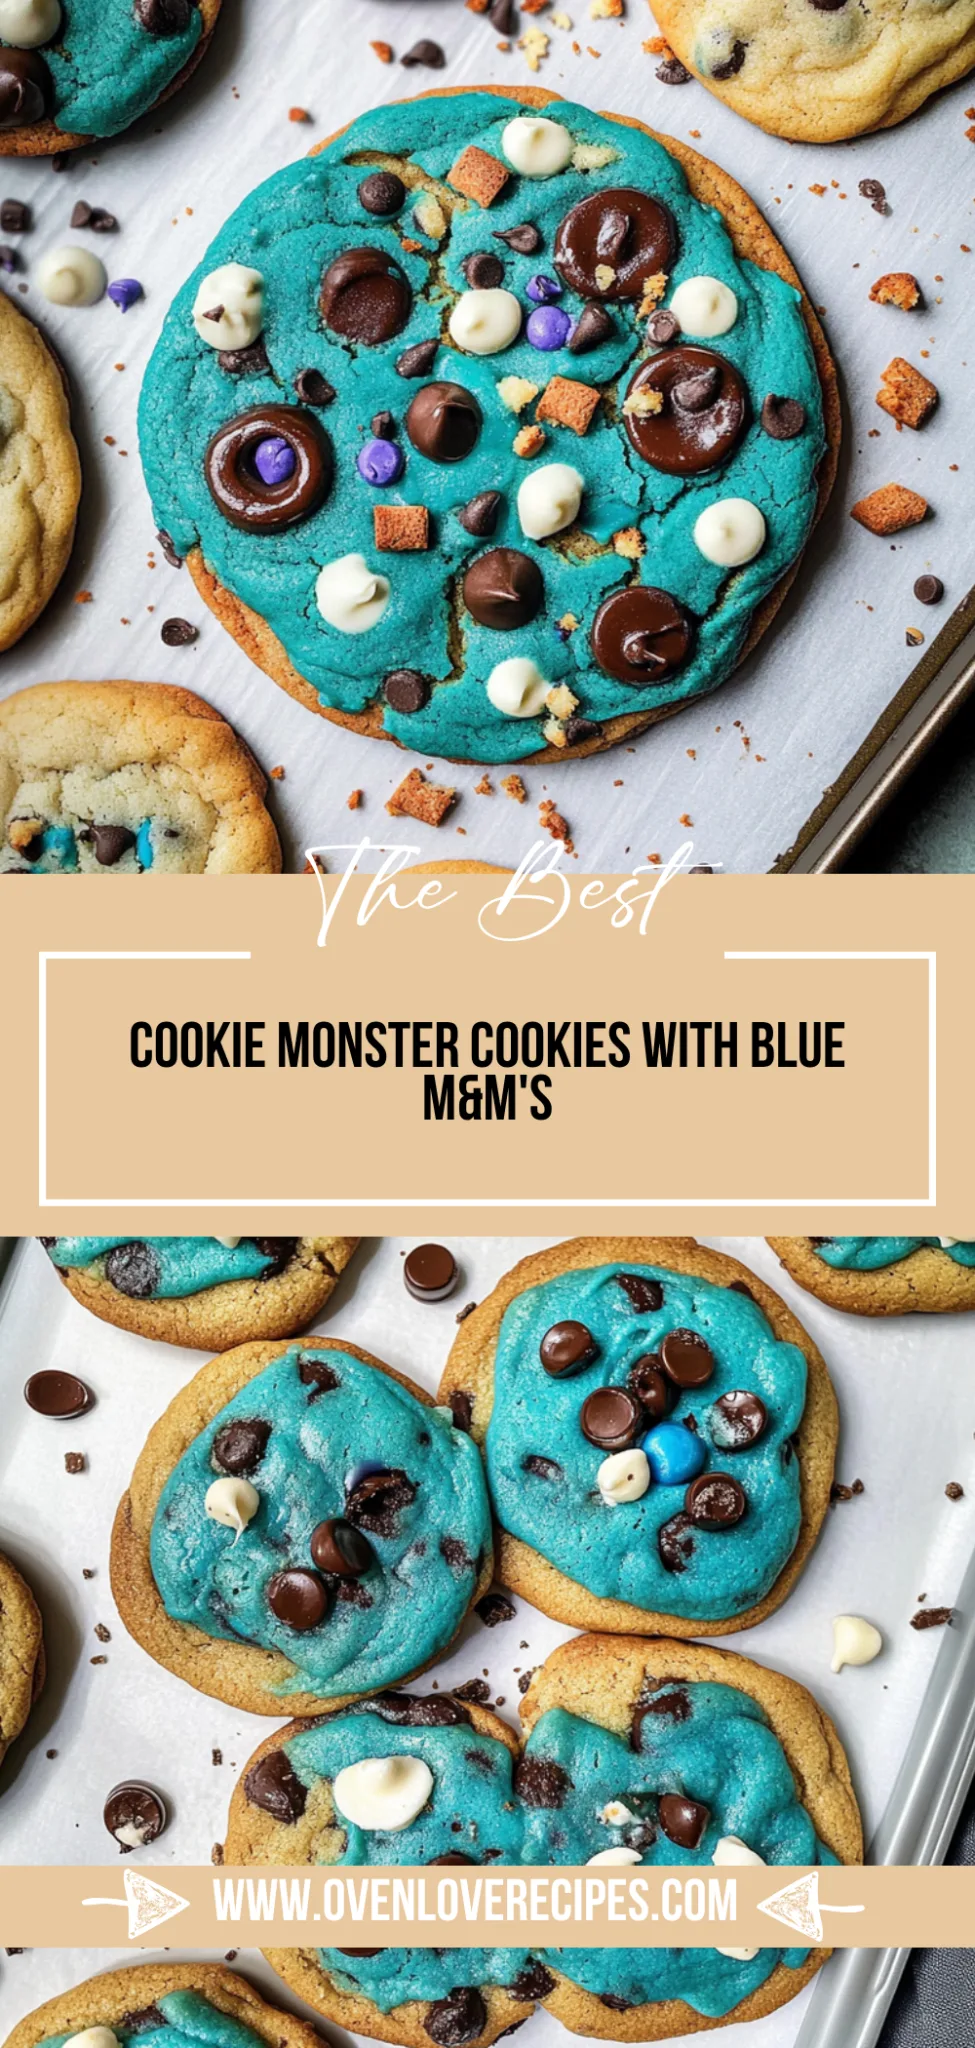
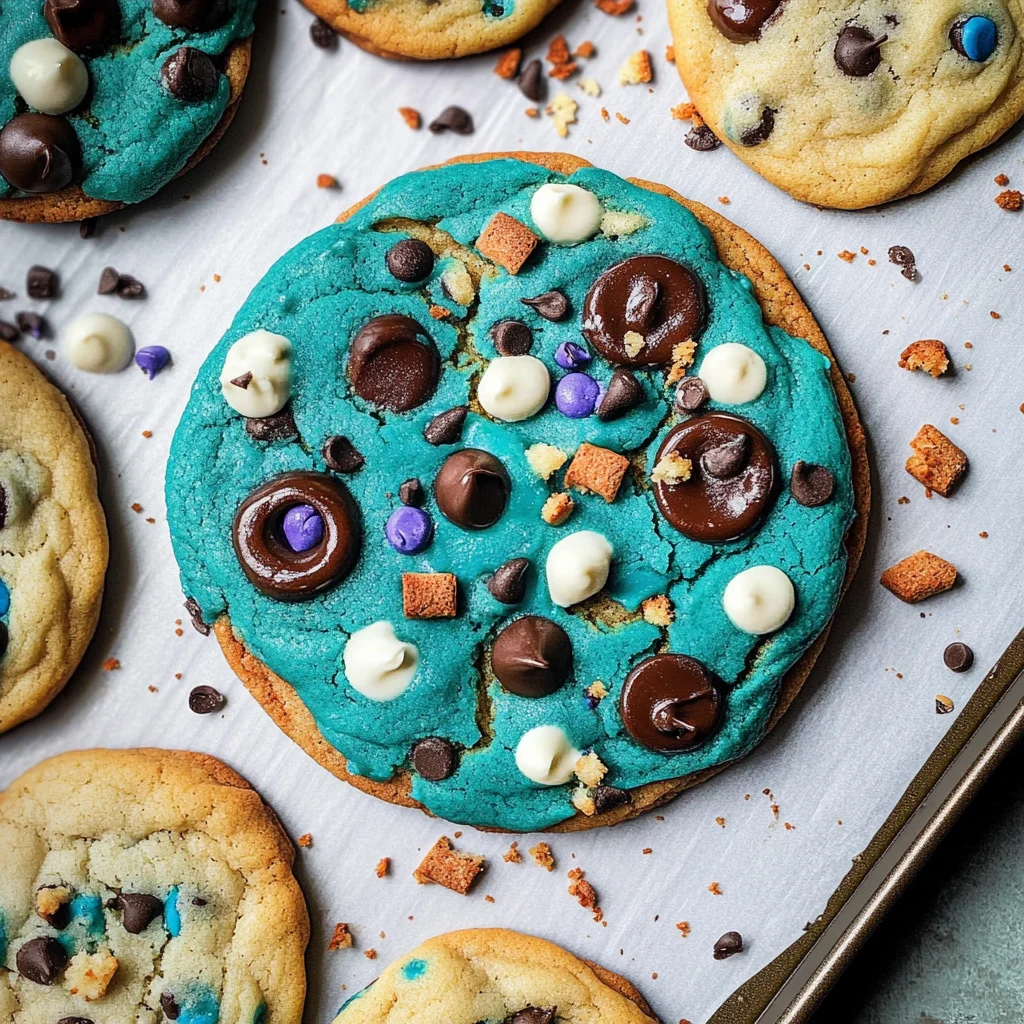
Cookie Monster Cookies are a delightful twist on traditional cookies, characterized by their vibrant blue color and whimsical charm. These treats are made with a rich combination of unsalted butter, brown sugar, and granulated sugar, along with the comforting flavors of eggs and vanilla extract. The addition of blue chocolate chips not only enhances the visual appeal but also brings a sweet, chocolaty burst in every bite. Baked to perfection in the oven, these cookies feature a soft and chewy texture that contrasts beautifully with their slightly crispy edges. Plus, they require minimal cleanup, making them an easy and fun dessert option for any occasion!
Perfect For:
Fun Family Baking Day: Get the kids involved in the kitchen with these playful, colorful cookies that are as fun to decorate as they are to eat. It’s a great way to create lasting memories while enjoying delicious treats together!
Birthday Parties or Celebrations: The vibrant blue color and whimsical frosting make these cookies an instant hit at any gathering, ensuring smiles all around. They’re not just tasty; they also double as festive decorations!
Last-Minute Treats: Whip up a batch of Cookie Monster Cookies in no time with simple ingredients you likely already have on hand. Perfect for unexpected guests or when you need a sweet fix fast!
Movie Night Indulgence: Cozy up with these delightful cookies during your next movie marathon. Their gooey chocolate chips and fun frosting will add an extra layer of sweetness to your favorite films!
Cookie Monster Cookies Ingredients
For the Cookie Dough
- 1 cup unsalted butter (softened) – This creamy base gives your cookies a rich texture and helps them spread perfectly.
- 1 cup brown sugar (packed) – Adds moisture and a deep, caramel flavor to your Cookie Monster Cookies.
- 1/2 cup granulated sugar – Balances sweetness and contributes to that delightful cookie crunch.
- 2 large eggs – Provides structure and moisture; ensure they’re at room temperature for best results.
- 1 teaspoon vanilla extract – A splash of this fragrant extract enhances all the sweet flavors in your cookies.
- 3 cups all-purpose flour – The foundation of the dough, providing structure while keeping the cookies tender.
- 1 teaspoon baking soda – This leavening agent helps the cookies rise and achieve that perfect chewy texture.
- 1/2 teaspoon salt – A pinch of salt elevates the sweetness and balances the overall flavor profile.
- 1 cup blue chocolate chips – These fun, vibrant chips give your cookies a playful twist and extra sweetness.
For the Blue Frosting
- 1 cup powdered sugar – Sweetens the frosting while giving it a smooth, spreadable consistency.
- 2 tablespoons unsalted butter (softened) – Adds richness and a creamy texture to your frosting blend.
- 1 tablespoon milk – Adjusts the consistency for easy spreading across your colorful cookies.
- 1 teaspoon blue food coloring – Gives your frosting that iconic blue hue, making these treats visually delightful!
Kitchen Equipment You’ll Need
- Mixing bowls
- Whisk
- Measuring cups
- Baking sheet
- Parchment paper
- Cooling rack
- Small bowl
How to Make This Recipe
Step 1:
Preheat your oven to 350°F (175°C) so it’s ready for the cookies once your dough is prepared. This temperature will ensure that the cookies bake evenly, giving them that perfect soft center with slightly crispy edges.
Step 2:
In a mixing bowl, cream together the softened butter, brown sugar, and granulated sugar until smooth. This should take about 2-3 minutes; you want to achieve a light and fluffy texture that indicates the sugars have dissolved well into the butter.
Step 3:
Add in the eggs one at a time, beating well after each addition to incorporate them fully. Then, stir in the vanilla extract for that delightful flavor boost that complements the sweetness of the cookies.
Step 4:
In another bowl, whisk together the flour, baking soda, and salt. Mixing these dry ingredients separately ensures that the baking soda and salt are evenly distributed throughout the flour, which is crucial for consistent cookie texture.
Step 5:
Gradually blend the dry ingredients into your wet mixture. Start by adding a little at a time and mix just until combined to avoid overworking the dough, which can lead to tougher cookies.
Step 6:
Fold in the blue chocolate chips gently until they are evenly dispersed throughout your cookie dough. This will not only give your cookies a fun pop of color but also delicious bursts of chocolatey goodness in every bite.
Step 7:
Drop rounded tablespoons of dough onto a baking sheet lined with parchment paper. Make sure to leave enough space between each scoop as they will spread while baking—around two inches should do nicely!
Step 8:
Bake in your preheated oven for about 10-12 minutes or until the edges are lightly golden. Keep an eye on them; you want them to be set but still soft in the middle for that perfect chewy texture.
Step 9:
Once baked, remove from the oven and let them cool on the baking sheet for a few minutes. This resting time allows them to firm up slightly before transferring them to a wire rack where they can cool completely.
Step 10:
In a small bowl, mix together the powdered sugar, softened butter, milk, and blue food coloring until smooth. The frosting should be creamy and easily spreadable; if it’s too thick, just add a splash more milk!
Step 11:
Once your cookies are completely cool, spread the blue frosting generously on top of each cookie. Don’t be shy with it—this is where you can really let your creativity shine!
Tips
- Use room temperature ingredients: Ensuring your butter and eggs are at room temperature helps create a smoother dough, resulting in cookies that are more tender and evenly baked.
- Don’t overmix the dough: Overmixing can lead to tough cookies. Mix until just combined to keep them soft and chewy, allowing for a delightful texture.
- Chill the cookie dough: If you have time, chilling the dough for at least 30 minutes can enhance flavors and prevent spreading, resulting in thicker, chewier cookies.
- Watch your baking time: Since ovens can vary, start checking your cookies a minute or two before the recommended time. Removing them when they’re slightly underbaked gives a softer center.
- Space out the cookies on the sheet: Leave enough space between each dollop of dough to allow for spreading during baking. This prevents them from merging into one giant cookie!
- Let them cool on the baking sheet: Allowing cookies to cool for a few minutes on the baking sheet helps them set properly before transferring to a wire rack, ensuring they hold their shape.
Optional Ingredients
- Sea salt flakes: A sprinkle of these on top before baking adds a delightful contrast to the sweetness, enhancing the overall flavor profile and giving your cookies an artisanal touch.
- Cayenne pepper: Adding a pinch of cayenne can introduce a surprising kick that balances the sweetness of the cookies, creating an exciting flavor experience. Mix it into the dough for even distribution.
- Chopped walnuts: These nuts provide a satisfying crunch and earthy flavor, complementing the soft texture of the cookies beautifully. Fold them into the dough for added richness.
- Lemon zest: A tablespoon of bright lemon zest lends a refreshing citrus note that lightens up the sweetness and adds complexity to each bite. Incorporate it directly into the dough for maximum impact.
- Caramel drizzle: A luscious caramel sauce drizzled on top creates a decadent finish that not only looks stunning but also adds layers of sweet, buttery flavor to your cookies. Drizzle right before serving for best results.
What to Pair with Cookie Monster Cookies?
To complement the fun and vibrant flavors of Cookie Monster Cookies, consider serving a fresh spinach salad adorned with strawberries and a light vinaigrette. The tangy sweetness of the strawberries offers a delightful contrast to the rich chocolate chips, while the crispness of the greens refreshes your palate. This balance between sweet and tart creates an inviting harmony that enhances the overall dessert experience.
Another excellent pairing is a side of roasted sweet potatoes. Their natural sweetness mirrors the brown sugar in the cookies, while their creamy texture provides a satisfying counterpoint to the crunchy bites of chocolate. The caramelized edges also add a subtle depth, elevating your cookie indulgence into a more rounded meal.
For those seeking a drink option, a glass of cold milk or vanilla-flavored almond milk serves as the perfect companion. The classic pairing enhances the nostalgic appeal of cookies, while the creaminess helps temper the sweetness from both the cookies and frosting. It’s not just about quenching thirst; it’s about creating an experience that evokes warmth and comfort with each bite and sip.
Variations and Substitutions
Coconut Oil instead of Butter: Swap out the unsalted butter for an equal amount of coconut oil for a subtle tropical twist. This change adds a hint of coconut flavor and results in slightly chewier cookies.
Brown Sugar with Maple Syrup: Replace the brown sugar with an equal amount of maple syrup for a unique flavor profile. The cookies will have a lovely caramel-like taste and a softer texture, reminiscent of fall treats.
Gluten-Free Flour Blend: For gluten-free Cookie Monster Cookies, substitute the all-purpose flour with a 1:1 gluten-free flour blend. This will provide the same delightful cookie experience while accommodating those with gluten sensitivities.
White Chocolate Chips in Place of Blue: Instead of blue chocolate chips, use white chocolate chips or butterscotch chips for a sweeter, more decadent cookie. This variation will create a beautiful contrast against the blue frosting, making them equally eye-catching.
Add Chopped Nuts: Incorporate 1 cup of chopped pecans or walnuts into the cookie dough for added crunch and richness. The nuts will enhance the texture and offer a delightful nutty flavor that complements the sweetness of the cookies.
Vanilla Extract with Almond Extract: Elevate your Cookie Monster Cookies by using half vanilla extract and half almond extract in the dough. This switch will infuse your cookies with a warm, nutty aroma that pairs wonderfully with chocolate.
Dairy-Free Milk for Frosting: To make the blue frosting dairy-free, substitute regular milk with almond milk or oat milk. This simple swap allows everyone to enjoy these fun cookies without compromising on creaminess or sweetness.
To store your Cookie Monster Cookies in the refrigerator, allow them to cool completely after baking. Place the cookies in an airtight container, separating layers with parchment paper to prevent sticking. They will stay fresh for up to one week; when ready to enjoy, simply reheat them in the microwave for about 10-15 seconds or pop them in a preheated oven at 350°F for a few minutes to restore their soft texture.
These cookies can also be frozen, but keep in mind that the blue frosting may lose some of its initial texture and vibrancy. For best results, flash freeze the cookies on a baking sheet before transferring them to a freezer-safe container or zip-top bag, making sure to remove as much air as possible. They can be stored in the freezer for up to three months; when you’re ready to indulge, thaw them in the refrigerator overnight and reheat gently as needed.
Frequently Asked Questions
Can I use margarine instead of unsalted butter for the cookie dough?
Yes, you can substitute margarine for unsalted butter in this recipe. However, using margarine may slightly alter the flavor and texture of the cookies, making them less rich. If you choose this option, try to select a high-quality margarine for the best results.
Can I use white sugar instead of brown sugar?
While you can use white sugar in place of brown sugar, keep in mind that it will change the flavor and texture of your cookies. Brown sugar adds moisture and a deeper caramel-like flavor, so if you substitute with white sugar, your cookies may be less chewy and have a lighter taste.
How do I know when my cookies are done baking?
Your Cookie Monster Cookies are done when the edges are lightly golden and the centers look slightly underbaked. They will continue to firm up as they cool on the baking sheet. Avoid overbaking to ensure they stay soft and chewy.
Can I prepare the cookie dough ahead of time?
Absolutely! You can make the cookie dough in advance and refrigerate it for up to 3 days before baking. Just be sure to let it sit at room temperature for about 15-20 minutes before scooping and baking to ensure even cooking.
Are there any gluten-free alternatives for this recipe?
Yes, you can make these cookies gluten-free by using a 1: 1 gluten-free all-purpose flour blend. Make sure that your blue chocolate chips are also certified gluten-free to keep your Cookie Monster Cookies safe for those with gluten sensitivities.
Do I need to chill the dough before baking?
Chilling the dough is not necessary for this recipe, but if you prefer thicker cookies or want to prevent spreading, refrigerating it for about 30 minutes can help achieve that result. Just remember that it may require a slightly longer baking time.
Can I add other mix-ins besides blue chocolate chips?
Certainly! While blue chocolate chips give these cookies their signature look, feel free to add other mix-ins like nuts, white chocolate chips, or even sprinkles. Just be mindful of how these changes might affect the overall balance of flavors in your Cookie Monster Cookies.
Cookie Monster Cookies
Ingredients
Method
- Preheat the oven to 350°F (175°C).
- In a mixing bowl, cream together the softened butter, brown sugar, and granulated sugar until smooth.
- Beat in the eggs one at a time, then stir in the vanilla extract.
- In another bowl, whisk together the flour, baking soda, and salt.
- Gradually blend the dry ingredients into the wet mixture.
- Fold in the blue chocolate chips.
- Drop rounded tablespoons of dough onto a baking sheet lined with parchment paper.
- Bake for 10-12 minutes or until the edges are lightly golden.
- Remove from the oven and let cool on the baking sheet for a few minutes before transferring to a wire rack.
- In a small bowl, mix together the powdered sugar, softened butter, milk, and blue food coloring until smooth.
- Once the cookies are completely cool, spread the blue frosting on top of each cookie.

Leave a Comment