Quick, Easy, and Delightfully Nourishing
I remember the first time I whipped up these No Bake Protein Balls on a busy afternoon when my energy was running low. Just a few simple ingredients came together in no time, creating a deliciously chewy snack that was both satisfying and flavorful. The best part? No oven required!
These little bites are truly special; they fill the kitchen with a warm, nutty aroma that draws everyone in. Perfect for a post-workout boost or an afternoon pick-me-up, they never fail to elicit smiles from friends and family alike. Whether you’re fueling up before hitting the gym or need a quick snack during a hectic day, these protein balls fit right in.
To enjoy them to the fullest, pair your No Bake Protein Balls with a refreshing smoothie or a cup of herbal tea. You can even sprinkle some extra nuts or seeds on top for added crunch and flavor. Trust me, once you make these delightful treats, you’ll find yourself looking for every excuse to whip up another batch!
What are No Bake Protein Balls?
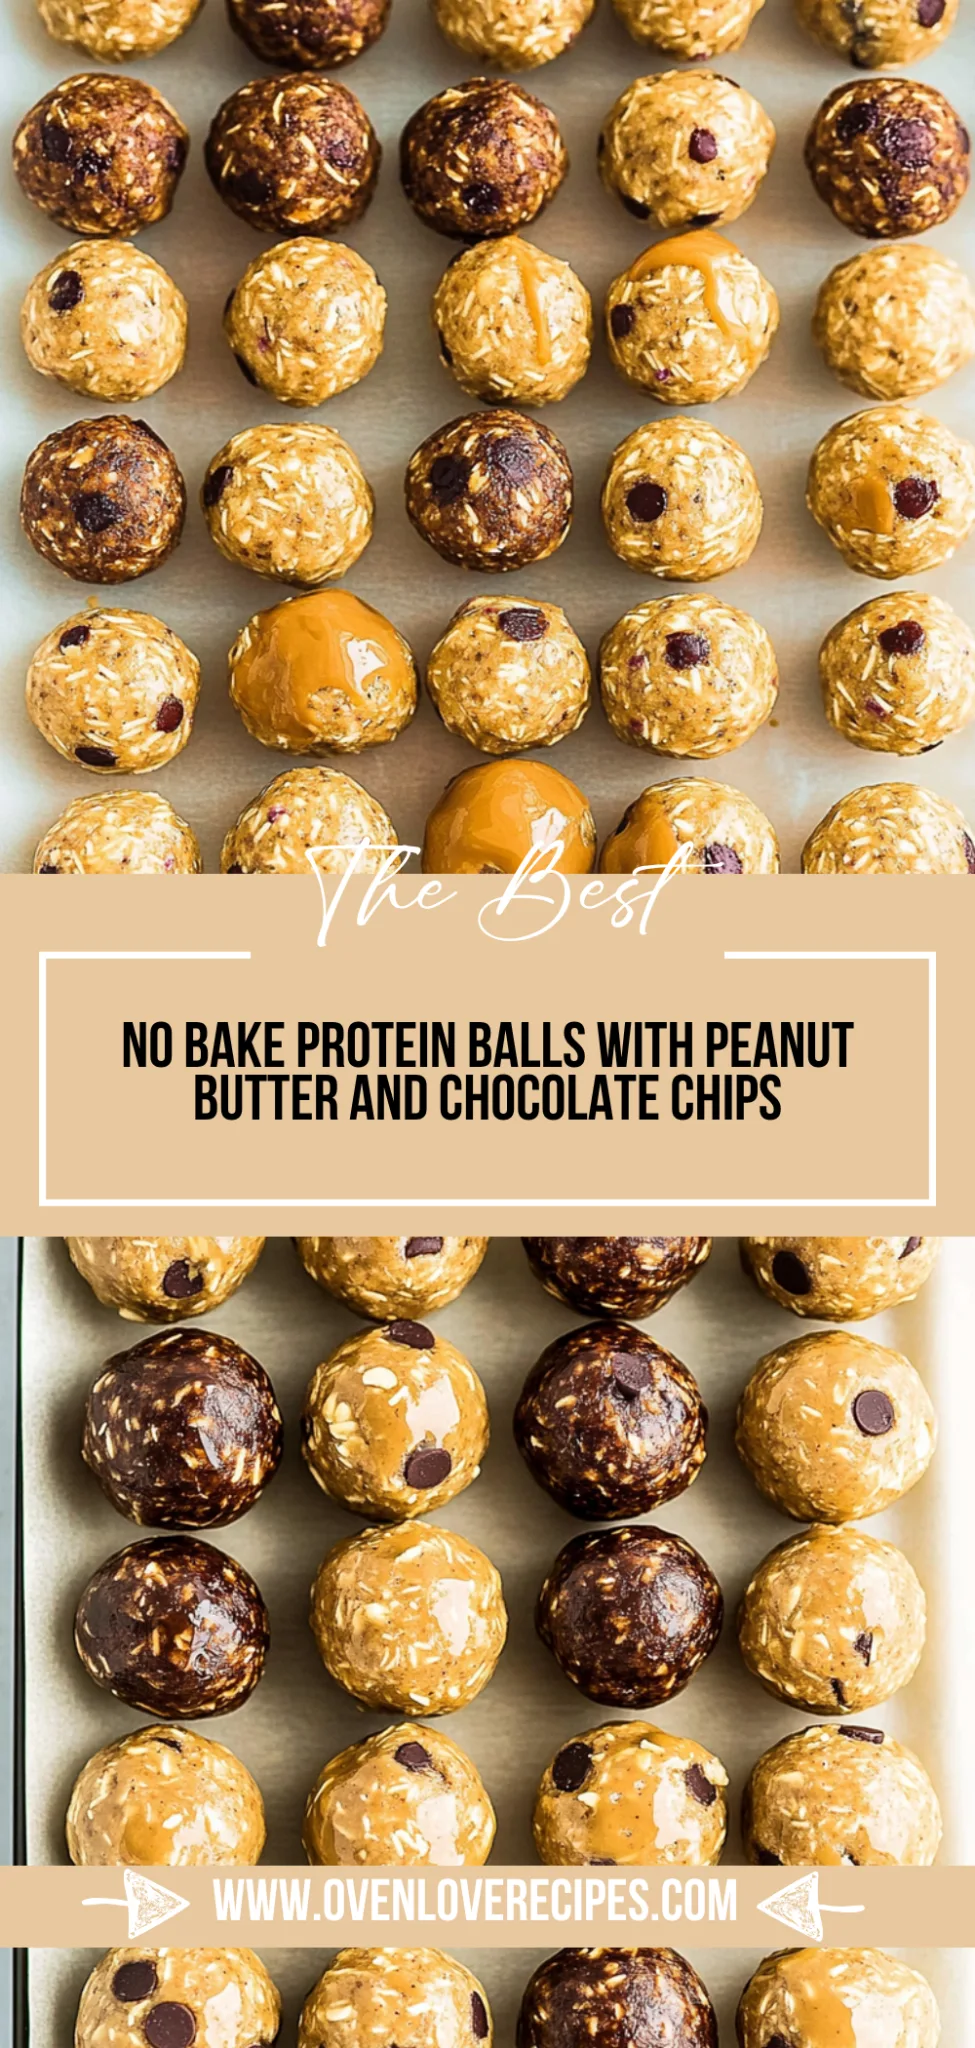
No Bake Protein Balls are a delightful and nutritious snack that falls into the no-bake category, making them incredibly simple to prepare. These energy-packed bites combine rolled oats, creamy peanut butter, sweet honey, and your choice of protein powder to create a chewy texture with a hint of sweetness from optional chocolate chips. The result is a satisfying treat that’s both hearty and indulgent without any cooking required. Perfect for busy days or post-workout recovery, they come together in just minutes and require minimal cleanup, making them an ideal go-to snack for anyone looking for a quick energy boost.
Perfect For:
Post-Workout Fuel: These no bake protein balls are the ideal snack to replenish your energy after a workout, providing a quick boost of protein and healthy fats to help your muscles recover.
Busy Weekdays: With no baking required, these protein balls come together in just minutes, making them a perfect grab-and-go snack for hectic mornings or mid-afternoon slumps.
Kids’ Snack Time: Packed with wholesome ingredients, these tasty bites are an easy way to keep kids satisfied and energized after school, while also being simple enough for them to help make.
Healthy Treats for Gatherings: Whether it’s a potluck or a casual get-together, these protein balls are a hit with everyone and can easily be scaled up to ensure there’s enough to share.
Ingredients for No Bake Protein Balls
- For the Base
- 1 cup rolled oats – Old-fashioned oats work best for a chewy texture and help bind the ingredients together.
- 1/2 cup peanut butter – Any nut butter of choice can be used; it adds creaminess and healthy fats.
- 1/3 cup honey – Maple syrup is a great vegan alternative for sweetness and moisture.
- 1/2 cup protein powder – Choose vanilla or chocolate flavor to enhance the taste and boost protein content.
- 1/4 cup chocolate chips (optional) – These add a touch of sweetness and make the No Bake Protein Balls even more delightful.
- For Optional Add-ins
- 1/4 cup chia seeds – They provide added fiber, omega-3s, and a nice crunch to your snack.
- 1/4 cup shredded coconut (unsweetened) – This gives a tropical flavor that complements the other ingredients beautifully.
- 1/4 cup dried fruit (such as cranberries or raisins) – A perfect way to add natural sweetness and chewiness to your energy bites.
Kitchen Equipment You’ll Need
- Mixing bowl
- Wooden spoon or spatula
- Measuring cups
- Baking sheet
- Parchment paper
- Airtight container
How to Make No Bake Protein Balls
Step 1:
In a mixing bowl, combine 1 cup of rolled oats, 1/2 cup of peanut butter, 1/3 cup of honey, and 1/2 cup of protein powder. Use a spatula or a spoon to mix these together until everything is well incorporated and you have a thick, sticky mixture. Don’t worry if it feels a bit dense; that’s just the nature of these delicious balls!
Step 2:
Once your base ingredients are mixed, stir in 1/4 cup of chocolate chips if you want a touch of sweetness, along with any optional add-ins like chia seeds or shredded coconut for extra texture and flavor. Keep mixing until everything is evenly distributed throughout the mixture.
Step 3:
Using your hands, scoop out about 1 tablespoon of the mixture and roll it into a ball. You should feel it come together nicely as you shape it; if it’s too crumbly, you can add a tiny bit more peanut butter to help bind it.
Step 4:
Place the formed balls on a baking sheet lined with parchment paper. Make sure to leave some space between them so they don’t stick together as they chill.
Step 5:
Refrigerate the protein balls for at least 30 minutes to firm up. This chilling time is crucial as it helps them hold their shape better when you’re ready to enjoy them.
Step 6:
Once set, feel free to enjoy immediately or store your protein balls in an airtight container in the fridge for up to a week. They make for a perfect snack anytime you need a quick energy boost!
Tips
- Choose old-fashioned oats: Using rolled oats instead of quick oats provides better texture and chewiness, making your protein balls more satisfying to eat.
- Experiment with nut butters: While peanut butter is a classic choice, almond or cashew butter can add unique flavors and nutritional benefits — find the one that suits your taste best!
- Adjust sweetness to your liking: If you prefer a less sweet snack, start with less honey or maple syrup and gradually add until you reach your desired flavor profile.
- Incorporate optional add-ins for variety: Adding chia seeds, shredded coconut, or dried fruit not only enhances flavor but also boosts the nutritional value of your protein balls.
- Don’t skip the chilling step: Refrigerating the protein balls allows them to firm up properly, ensuring they hold their shape when you take a bite.
- Try rolling in toppings for fun: For an extra touch, roll the balls in shredded coconut or cocoa powder before refrigerating — this adds visual appeal and an additional layer of flavor.
Optional Extras
- Almonds: Chopped or slivered, almonds add a delightful crunch and a subtle nuttiness that enhances the overall texture. Toss in about 1/4 cup for an extra protein boost.
- Cinnamon: A sprinkle of cinnamon brings warmth and depth to your protein balls, adding a cozy flavor profile. Use about 1 teaspoon to elevate the sweetness naturally.
- Zest of an Orange: Fresh orange zest provides a burst of citrusy brightness that can awaken the flavors in your protein balls. Just a teaspoon will infuse them with a refreshing twist.
- Nutmeg: This warm spice adds an aromatic richness that complements the nut butter beautifully. A pinch goes a long way, so start small and adjust to taste.
- Greek Yogurt: For added creaminess and tang, incorporate 2 tablespoons of Greek yogurt into your mixture. It brings moisture while boosting the protein content even further!
What to Pair with No Bake Protein Balls?
To complement the nutty and sweet flavors of no bake protein balls, consider serving a fresh spinach salad with sliced strawberries and a light balsamic vinaigrette. The crispness of the spinach along with the juicy sweetness of strawberries provides a refreshing contrast to the dense texture of the protein balls, enhancing your overall snacking experience. The acidity from the balsamic dressing also balances the richness of the nut butter, making each bite feel vibrant and invigorating.
For a heartier addition, roasted sweet potatoes seasoned with cinnamon can be an excellent side. Their natural sweetness echoes the honey in the protein balls while offering a creamy texture that contrasts beautifully with their nutty counterparts. This pairing not only adds warmth and comfort but also rounds out your meal with complex carbohydrates, perfect for refueling after a workout.
If you’re looking for something to sip on, try a chilled coconut water or almond milk smoothie blended with banana and a hint of vanilla. The tropical notes in coconut water enhance the shredded coconut in your protein balls, creating a harmonious flavor profile that feels indulgent yet refreshing. Alternatively, an iced herbal tea infused with lemon will provide a zesty kick that cuts through the richness of your snack, leaving you feeling revitalized.
Variations and Substitutions
Almond butter instead: Swap peanut butter for almond butter to create a nutty flavor with a slightly sweeter profile. This variation also adds a unique creaminess that complements the oats beautifully.
Maple syrup instead of honey: Use pure maple syrup in place of honey for a vegan-friendly option that brings a rich, caramel-like sweetness to the protein balls. This substitution makes the snacks perfectly suitable for those following a plant-based diet.
Chocolate protein powder for vanilla: Opt for chocolate-flavored protein powder instead of vanilla to intensify the chocolatey goodness of your protein balls. This change will create a delightful treat reminiscent of dessert, perfect for satisfying sweet cravings.
Coconut flour instead of rolled oats: For a gluten-free version, substitute rolled oats with coconut flour. This will yield a denser texture while infusing your protein balls with a subtle coconut flavor, making each bite feel indulgent yet healthy.
Pumpkin puree as an add-in: Mix in 1/4 cup of pumpkin puree along with the base ingredients for added moisture and a boost of vitamins. This seasonal twist not only enhances the nutrition but also gives your protein balls a lovely autumnal flavor.
Spices like cinnamon or nutmeg: Add 1 teaspoon of cinnamon or nutmeg to spice up your protein balls and introduce an aromatic warmth. This simple addition can transform your snack into something cozy and comforting, reminiscent of freshly baked goods.
Dried apricots in place of chocolate chips: Replace chocolate chips with chopped dried apricots for a fruity twist that adds natural sweetness and chewy texture. This modification provides a pop of vibrant color and pairs wonderfully with the nutty flavors of the base ingredients.
Refrigerate your no bake protein balls in an airtight container to keep them fresh. They will last up to one week in the fridge, and when you’re ready to enjoy them, there’s no need to reheat; simply take one out and let it sit for a minute or two if you prefer a softer texture after being chilled.
These protein balls can also be frozen for longer storage. To freeze, place them in a single layer on a baking sheet until firm, then transfer them to a freezer-safe container or zip-top bag, separating layers with parchment paper. They can be stored in the freezer for up to three months, and you can thaw them overnight in the refrigerator or at room temperature for about 30 minutes before enjoying.
Frequently Asked Questions
Can I use a different nut butter instead of peanut butter?
Absolutely! You can substitute peanut butter with any nut butter of your choice, such as almond butter or cashew butter. Just keep in mind that the flavor and texture may vary slightly based on your choice.
How long do the protein balls need to chill in the fridge?
The protein balls should chill in the refrigerator for at least 30 minutes to firm up properly. This helps them hold their shape and makes them easier to eat.
Can I make these protein balls vegan?
Yes, you can make these protein balls vegan by using maple syrup instead of honey. Additionally, ensure that the protein powder you choose is plant-based and free from any animal products.
How do I store the no bake protein balls?
Store the no bake protein balls in an airtight container in the refrigerator for up to a week. For longer storage, you can freeze them for up to three months; just thaw before enjoying.
Can I add more ingredients to this recipe?
Definitely! Feel free to add ingredients like chia seeds, shredded coconut, or dried fruits for extra flavor and nutrition. Just be mindful not to exceed the total volume too much; otherwise, it may affect the mixture’s ability to hold together.
What type of protein powder works best for this recipe?
Both vanilla and chocolate-flavored protein powders work well, depending on your taste preference. Choose a high-quality protein powder that complements your other ingredients for the best results.


Leave a Comment