Effortless, Warm, and So Satisfying
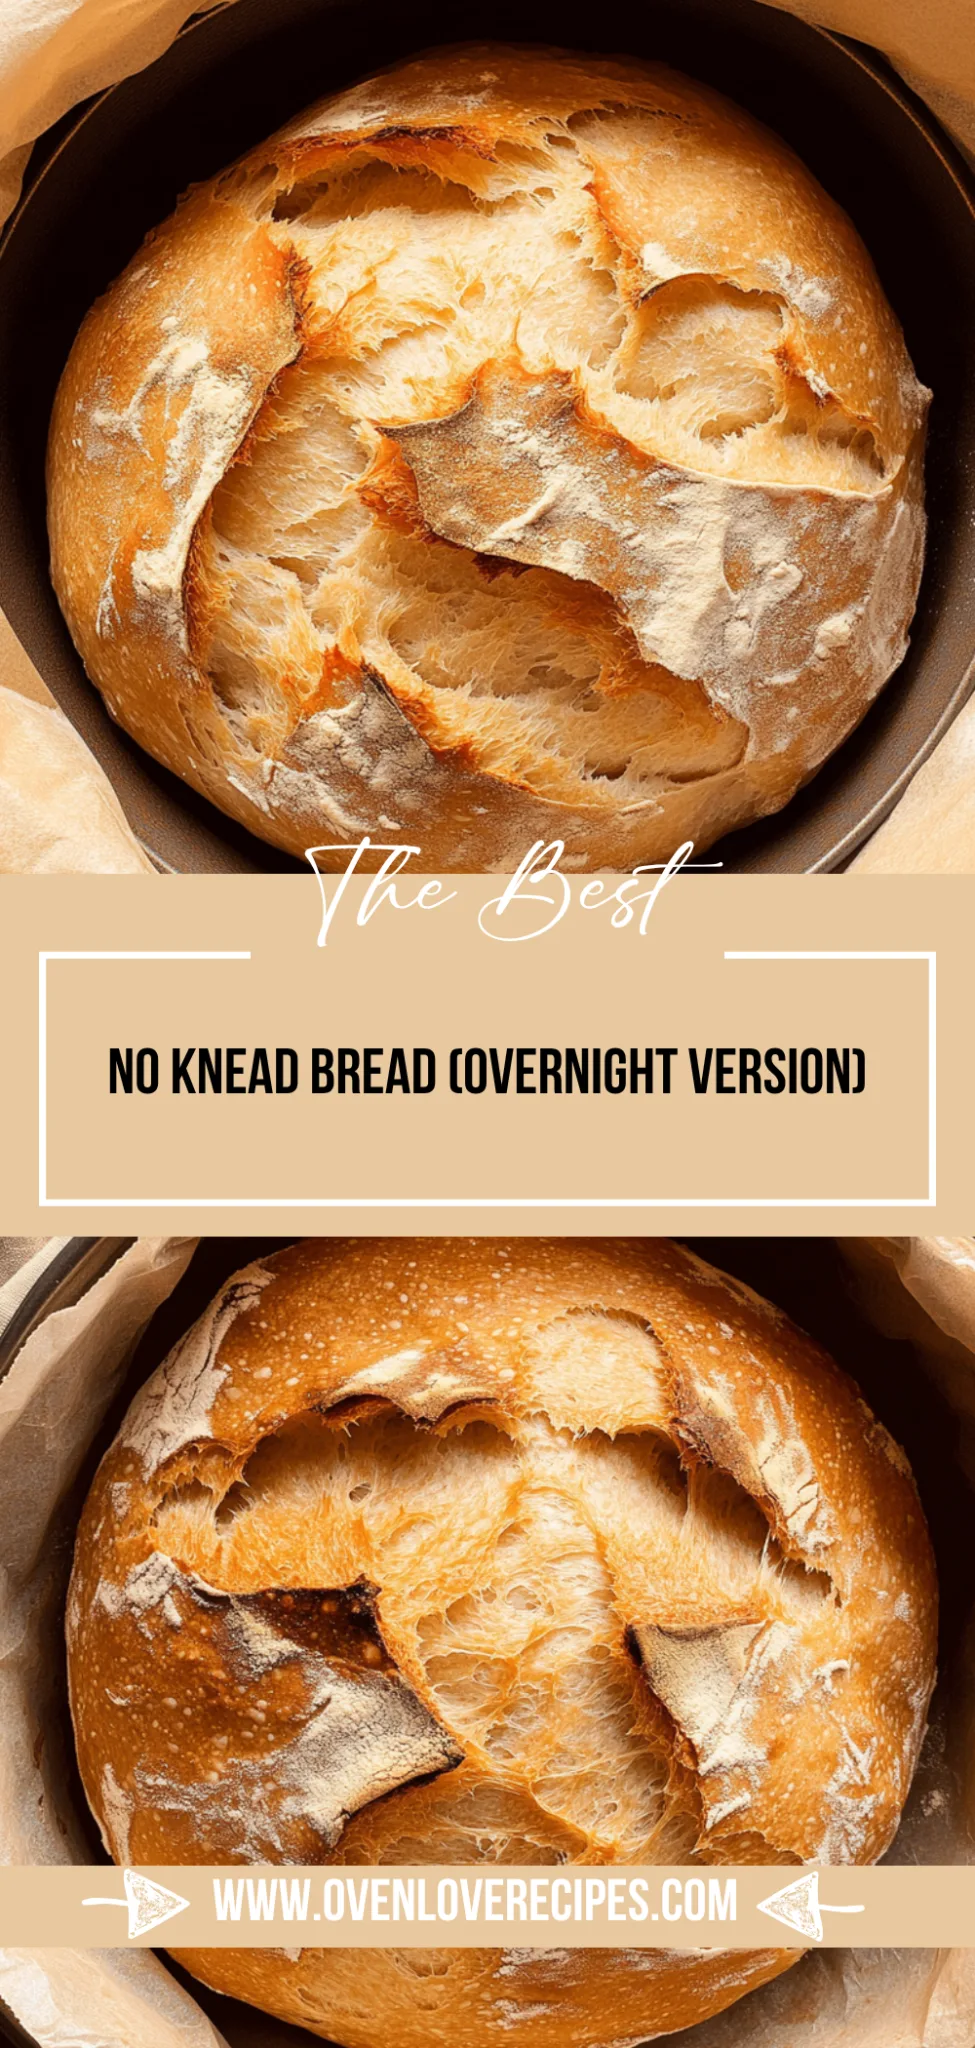
There’s something absolutely magical about the aroma of freshly baked bread wafting through the house, especially when it comes from my beloved No Knead Bread (Overnight Version). I remember the first time I tried this recipe; it was a chilly evening, and with just a few minimal ingredients and no kneading required, I turned out a crusty loaf that was as delightful to taste as it was easy to make. The texture was perfectly chewy with a crispy crust, making it hard to believe I didn’t spend hours in the kitchen.
What makes this bread truly special is how it transforms an ordinary day into something extraordinary. The moment you pull that golden-brown loaf from the oven, the whole kitchen fills with a warm, comforting smell that beckons everyone to gather around. It’s perfect for cozy dinners with family or even a romantic date night where homemade touches matter most.
Now, imagine slicing into that warm loaf and slathering on some creamy butter or perhaps a drizzle of olive oil paired with balsamic vinegar. You can also serve it alongside your favorite soup or salad for a hearty meal that feels like a big hug. Trust me, once you experience the joy of baking this No Knead Bread (Overnight Version), you’ll want to share it with everyone you love!
What are No Knead Bread (Overnight Version)?
No Knead Bread (Overnight Version) is a delightful artisan bread that embodies simplicity and flavor without the need for extensive kneading. This rustic loaf is made with just a few key ingredients: 3 cups of all-purpose flour, 1 teaspoon of salt, and 1/4 teaspoon of instant yeast, combined with 1.5 cups of room temperature water to create a moist dough. The result is a beautifully crispy crust that encases a tender and airy interior, making it perfect for sandwiches or enjoying fresh with butter. Baked in the oven, this method requires minimal effort, allowing you to prepare the dough the night before and wake up to the intoxicating aroma of freshly baked bread, all while keeping cleanup simple and hassle-free.
Perfect For:
Busy Weeknights: This no-knead bread is the ultimate time-saver; simply mix the ingredients before bed and wake up to a fresh loaf ready for dinner.
Budget-Friendly Baking: Enjoy the luxury of homemade bread without breaking the bank; this recipe uses basic pantry staples that won’t stretch your budget.
Family Gatherings: With its rustic charm, this bread is perfect for sharing. It easily scales up for larger families or gatherings, ensuring everyone leaves satisfied.
Cozy Weekend Mornings: There’s nothing better than waking up to the smell of freshly baked bread; enjoy it warm with butter or as a base for your favorite breakfast sandwiches.
No Knead Bread (Overnight Version) Ingredients
For the Dough
- 3 cups all-purpose flour (plus extra for dusting) – This is the main ingredient that forms the structure of your No Knead Bread.
- 1 teaspoon salt – Essential for flavor, it also strengthens the dough’s gluten structure.
- 1/4 teaspoon instant yeast – Provides the necessary lift without the need for kneading.
For the Liquid
- 1.5 cups water (room temperature) – This hydrates the flour and activates the yeast, creating a moist dough that’s easy to work with.
Kitchen Equipment You’ll Need
- Large mixing bowl
- Wooden spoon
- Plastic wrap
- Parchment paper
- Dutch oven
- Wire rack
How to Make No Knead Bread (Overnight Version)
Step 1:
In a large mixing bowl, combine 3 cups of all-purpose flour, 1 teaspoon of salt, and 1/4 teaspoon of instant yeast. Make sure to mix them well so that the yeast and salt are evenly distributed throughout the flour.
Step 2:
Add 1.5 cups of room temperature water to the dry ingredients. Using a wooden spoon, stir everything together until a shaggy dough forms; don’t worry about making it perfectly smooth. This is meant to be an easygoing process!
Step 3:
Cover the bowl tightly with plastic wrap and let it sit at room temperature for 12 to 18 hours. You’ll know it’s ready when the surface is dotted with bubbles and it has expanded in size.
Step 4:
After the first rise, turn the dough out onto a generously floured surface. With floured hands, gently shape the dough into a ball, being careful not to deflate it too much. Allow it to rest for about 15 minutes to relax before moving on.
Step 5:
Place the dough on a piece of parchment paper and cover it with a towel. Let it rise again for another 1 to 2 hours; you’re looking for it to puff up nicely during this time.
Step 6:
Preheat your oven to 450°F (232°C) and place a Dutch oven inside to heat up as well. This will help create that lovely crust we all love in homemade bread.
Step 7:
Once your oven is preheated, carefully remove the hot Dutch oven from the oven. Lift the dough using the parchment paper and place it inside—be cautious as everything will be quite hot!
Step 8:
Cover the Dutch oven with its lid and bake for 30 minutes. This initial covered baking helps steam the bread, giving you that perfect crust.
Step 9:
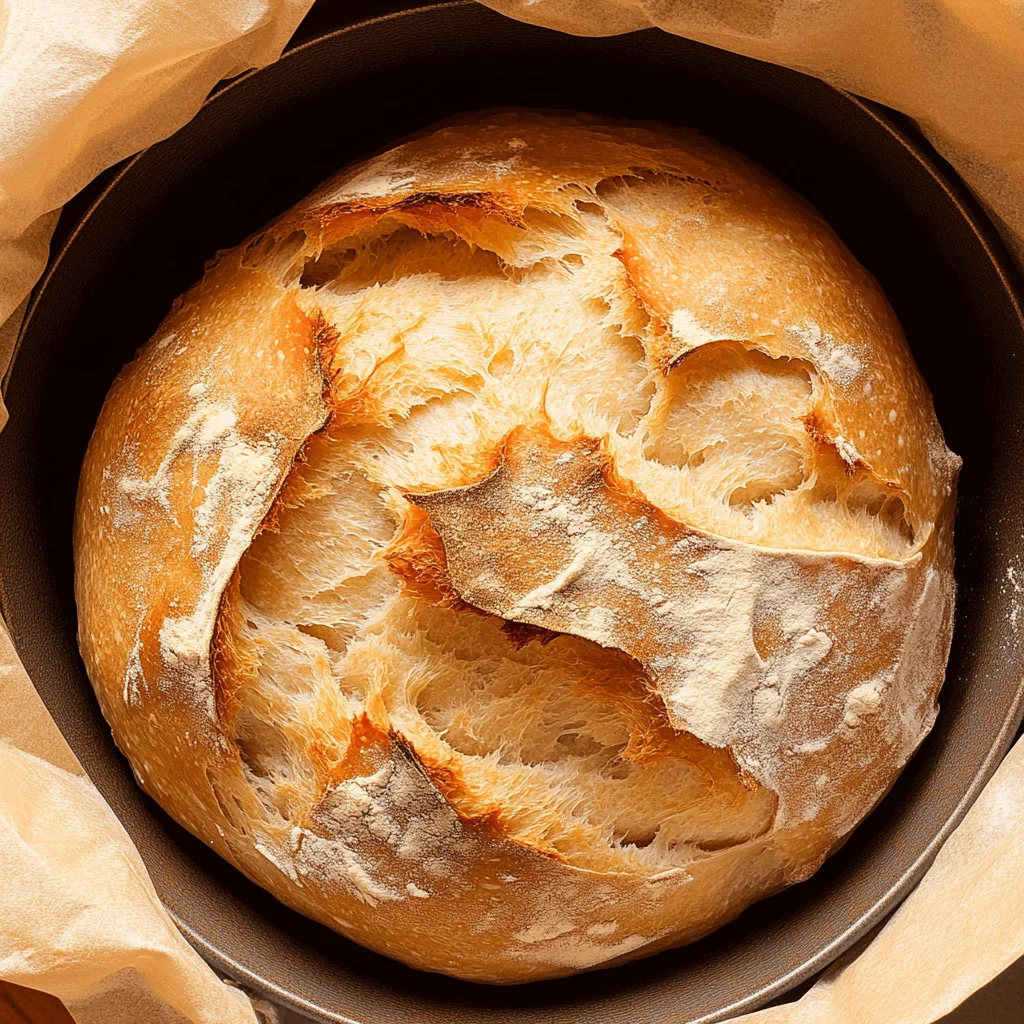
After 30 minutes, uncover the Dutch oven and continue baking for an additional 15 minutes until your bread is golden brown and has that irresistible aroma wafting through your kitchen.
Step 10:
Remove the bread from the Dutch oven and transfer it to a wire rack. Let it cool for at least 30 minutes before slicing—this cooling period allows for better texture and flavor development!
Tips
- Use room temperature water: Using water at room temperature helps to activate the yeast effectively and promotes a better rise, resulting in a lighter and airier bread.
- Don’t rush the first rise: Allowing the dough to rest for 12 to 18 hours develops flavor and texture. A longer fermentation time creates complex flavors that enhance your bread.
- Flour your surface generously: When shaping the dough, using enough flour prevents sticking, making it easier to handle and shape without deflating the air bubbles that developed during rising.
- Be gentle when shaping: Handling the dough too roughly can deflate it. Lightly shaping it into a ball retains its airy structure, which is crucial for achieving that perfect crust and crumb.
- Preheat your Dutch oven properly: Ensuring the Dutch oven is thoroughly preheated allows for a burst of steam when you place the dough inside, giving your bread an ideal crust while trapping moisture for softness inside.
- Cool completely before slicing: Allowing the bread to cool on a wire rack for at least 30 minutes prevents sogginess. This step ensures that the crumb sets properly and enhances the flavor as well as texture when you slice into it.
Optional Ingredients
- Parmesan cheese: Adding grated Parmesan to the dough infuses a savory, umami flavor that enhances the bread’s crust. Mix in about 1/2 cup with your dry ingredients for a cheesy surprise.
- Red pepper flakes: Sprinkle in some red pepper flakes to give your bread a subtle kick of heat. Start with 1 teaspoon and adjust according to your spice preference for a delightful warmth.
- Chopped olives: Incorporate roughly chopped olives into the dough for a briny, rich flavor that pairs beautifully with the bread’s texture. About 1/2 cup works wonders!
- Zest of lemon: Grating the zest of one lemon into the dough adds a bright, refreshing note that elevates the overall flavor profile. It’s a fantastic way to introduce citrusy brightness without overwhelming the bread.
- Honey or maple syrup: Drizzling in a tablespoon or two of honey or maple syrup can add a touch of sweetness and depth, balancing out savory flavors and enhancing browning during baking.
- Fresh herbs (like rosemary or thyme): Mixing in finely chopped fresh herbs adds aromatic complexity and visual appeal to your bread. About 2 tablespoons will impart an earthy fragrance that makes your kitchen smell divine!
What to Pair with No Knead Bread (Overnight Version)?
To elevate your no-knead bread experience, consider serving it alongside a fresh salad. A classic arugula salad with cherry tomatoes and a zesty lemon vinaigrette not only enhances the bread’s rustic charm but also provides a refreshing contrast with its peppery greens and tangy dressing. The lightness of the salad complements the hearty texture of the bread, creating a balanced meal that feels both satisfying and vibrant.
Steamed or roasted vegetables make an excellent pairing as well. Think of tender asparagus drizzled with olive oil and a sprinkle of sea salt or roasted carrots glazed with honey for added sweetness. The natural earthiness of these vegetables harmonizes beautifully with the warm, crusty loaf, allowing you to enjoy each bite as the flavors meld together. This combination not only satisfies your hunger but also brings a colorful visual appeal to your table.
For those seeking comfort in simplicity, a side of creamy mashed potatoes or fluffy corn pudding can take your meal to the next level. The buttery richness of these sides contrasts beautifully with the chewy texture of the no-knead bread, making each mouthful feel indulgent yet grounded. They create a cozy atmosphere perfect for sharing with loved ones on a chilly evening.
Finally, consider pairing your homemade bread with a light white wine like Sauvignon Blanc or even a simple dessert like fruit compote. The crisp acidity of the wine cuts through the density of the bread, refreshing your palate between bites. If you opt for dessert, the sweetness of seasonal fruits gently complements the subtle flavor profiles in the loaf, rounding out your meal in a delightful way.
Variations and Substitutions
Whole Wheat Flour: Swap out half of the all-purpose flour for whole wheat flour to add a nutty flavor and increase the nutritional value of your bread. This variation will create a denser loaf with a heartier texture, perfect for sandwiches or toasting.
Herb-Infused Bread: Incorporate 1 tablespoon of dried herbs such as rosemary, thyme, or oregano into the dry ingredients. This addition will infuse your bread with aromatic flavors and elevate its taste, making it a delightful companion to soups and stews.
Olive Oil Addition: Add 2 tablespoons of olive oil to the wet ingredients for a richer flavor and softer crumb. This variation enhances the texture of the bread, giving it a slightly moist interior and a subtle fruity essence that complements any meal.
Cheesy Delight: Fold in 1 cup of shredded cheese (like cheddar or mozzarella) after mixing the dough but before the first rise. The melted cheese will give your no-knead bread a deliciously gooey center and add depth to its savory profile.
Gluten-Free Option: Substitute the all-purpose flour with a gluten-free flour blend designed for baking. Ensure you also include an additional 1/4 teaspoon of instant yeast to help with the rise. This variation produces a loaf that is light and airy while accommodating those with gluten sensitivities.
Spicy Kick: Mix in 1 teaspoon of red pepper flakes or minced jalapeños into the dry ingredients for a spicy twist. This variation brings warmth and excitement to your bread, making it an excellent base for bold sandwiches or served alongside chili.
Seed Topping: Before placing the dough in the Dutch oven, sprinkle your favorite seeds (such as sesame, sunflower, or poppy seeds) on top after shaping. This addition not only enhances visual appeal but also adds an extra crunch and nutty flavor that contrasts beautifully with the soft interior.
How to Store
To store your No Knead Bread, allow it to cool completely at room temperature before placing it in an airtight container or wrapping it tightly in plastic wrap. It will keep well in the refrigerator for up to one week. When you’re ready to enjoy a slice, simply reheat it in a preheated oven at 350°F (175°C) for about 10 minutes to restore its crusty texture and warmth.
This bread can also be frozen, although you may notice a slight change in texture once thawed. To freeze, slice the bread and place the pieces in a freezer-safe bag or container, ensuring to remove as much air as possible. It can last up to three months in the freezer; when you’re ready to eat, thaw overnight in the fridge and reheat in the oven for best results.
Your Questions Answered
Can I use whole wheat flour instead of all-purpose flour for this recipe?
Yes, you can substitute whole wheat flour for all-purpose flour, but the texture and flavor will be slightly different. Whole wheat flour tends to make the bread denser, so you might want to adjust the water slightly to achieve the right consistency.
What if I don’t have instant yeast? Can I use active dry yeast instead?
Absolutely! You can use active dry yeast in place of instant yeast, but you’ll need to proof it first. Dissolve the active dry yeast in a small amount of warm water (about 110°F) with a pinch of sugar and let it sit until foamy before mixing it into your dough.
How do I know when my no-knead bread is done baking?
Your no-knead bread is done when it has a deep golden brown crust and sounds hollow when tapped on the bottom. An internal temperature of around 200°F (93°C) is also a good indicator that your bread is fully baked.
Can I prepare the dough ahead of time and store it in the fridge?
Yes, you can prepare the dough and refrigerate it after the first rise. Just cover it tightly with plastic wrap and store it in the fridge for up to 3 days. When you’re ready to bake, let it come back to room temperature before shaping and proceeding with the second rise.
Is there a way to make this recipe dairy-free?
This recipe is naturally dairy-free since there are no dairy ingredients included. Just ensure that any additional toppings or spreads you plan to use with your bread are also dairy-free.
What type of Dutch oven works best for baking this bread?
A heavy cast iron Dutch oven is ideal for this no-knead bread as it retains heat well and creates steam during baking. If you don’t have a Dutch oven, any oven-safe pot with a lid will work, just ensure it’s capable of withstanding high temperatures.
Can I add herbs or spices to enhance the flavor of my no-knead bread?
Definitely! You can mix dried herbs like rosemary or thyme directly into the dry ingredients for an extra flavor boost. Just be cautious not to overpower the basic taste; about a teaspoon should do nicely!
No Knead Bread (Overnight Version)
Ingredients
Method
- In a large mixing bowl, combine the flour, salt, and instant yeast.
- Add the water and stir with a wooden spoon until a shaggy dough forms.
- Cover the bowl with plastic wrap and let it sit at room temperature for 12 to 18 hours.
- After the first rise, turn the dough out onto a floured surface.
- With floured hands, shape the dough into a ball and let it rest for 15 minutes.
- Place the dough on a piece of parchment paper and cover it with a towel. Let it rise for another 1 to 2 hours.
- Preheat the oven to 450°F (232°C) and place a Dutch oven inside to heat.
- Once preheated, carefully remove the Dutch oven, lift the dough with the parchment paper, and place it inside.
- Cover and bake for 30 minutes, then uncover and bake for an additional 15 minutes until golden brown.
- Remove the bread from the Dutch oven and let it cool on a wire rack for at least 30 minutes before slicing.


Leave a Comment